Work required on the Stern Gear
Follow the links below for each stage, updated as I go along.
I had replaced the prop shaft and cutless bearing about 3 years ago, when I
bought the boat the cutless bearing was shot, it had to be sawn out and at the
same time the prop shaft had to be replaced.
I was very disappointed to find that the prop shaft and bearing were not looking
great after just 3 years. The system uses a PSS shaft seal and a long rubber /
brass bearing. We are now looking at feeding water from the engine into the PSS
shaft so that the bearing is properly flushed.
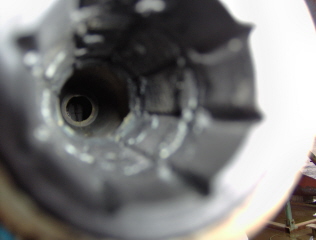
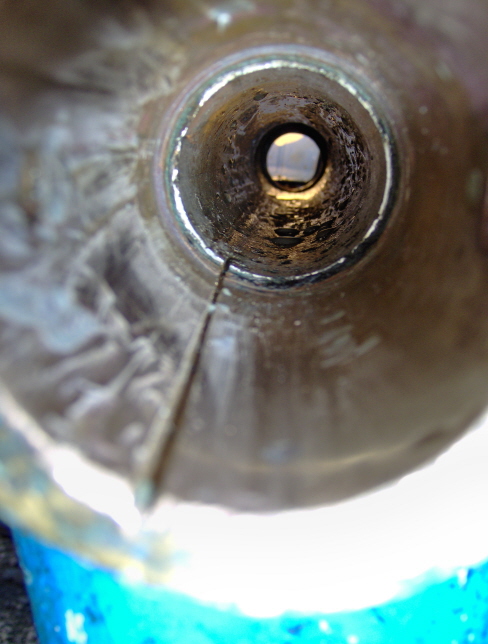
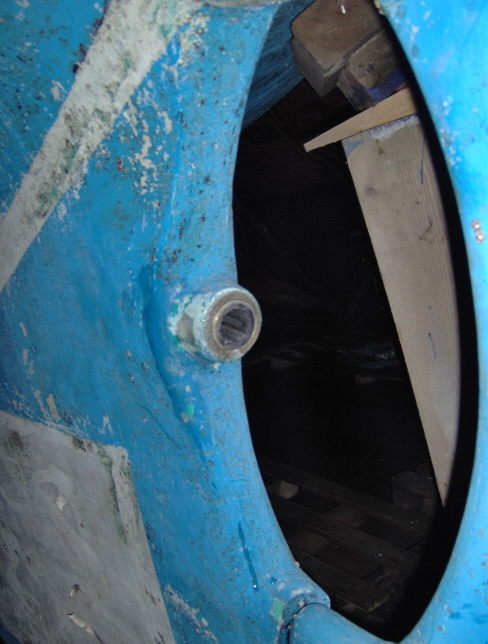
On this picture with the bearing still mounted in the stern log, you can just make out the damage inside.
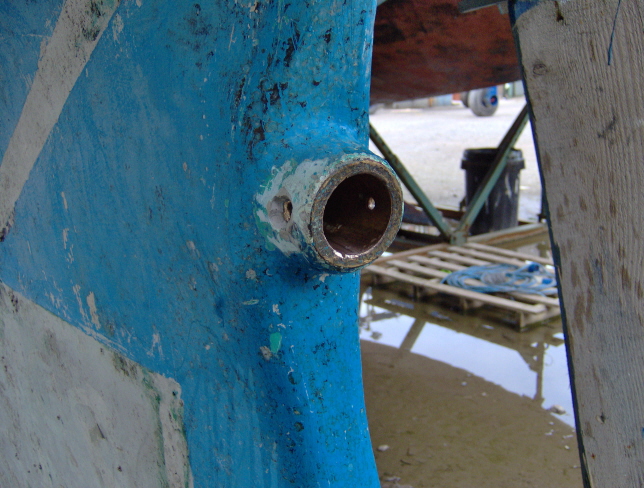
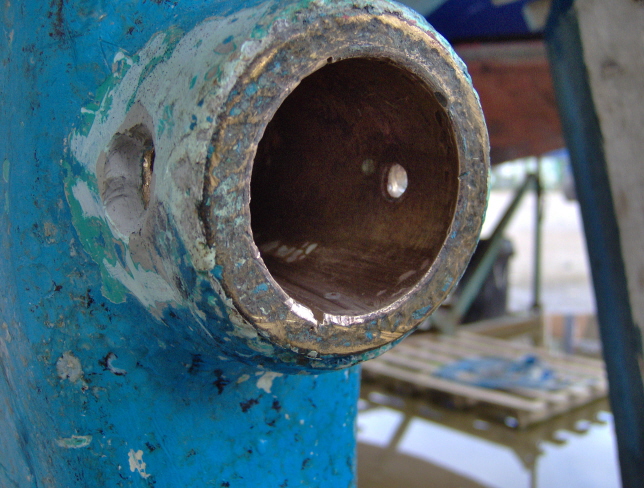
When the bearing was last replaced we took time to ensure that the bearing
should come out easier this time. Sadly this was not to be.
Much wrenching, hammering, pulling and pushing had no effect other than to
deform the outer edge.
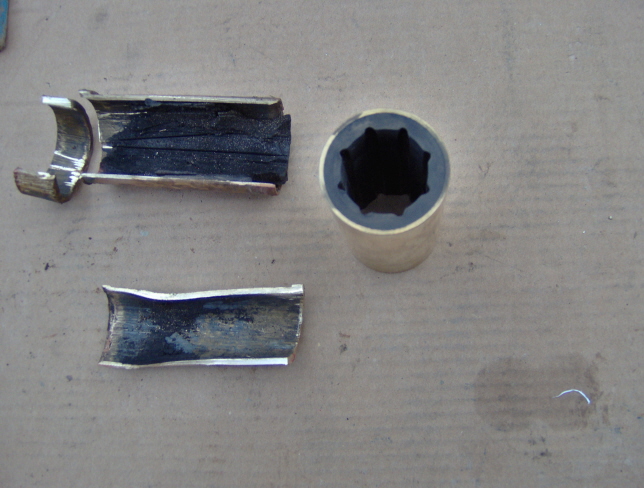
Fortunately, in the last 3 years, big reciprocating saws have arrived and they
cut the time on the job down from 2 days to 2 hours.
Two longitudinal cuts, a bit of hammering and the bearing was out, new one put
in, a bit of epoxy over the grub screw holes and the job was done.
This better be the last time. Pictures are below, click on them to enlarge.
|
|
|
|||||
|
|
|
|||||
|
|
|
|||||
|
|
|
||||||

")
